Welcome to my journey of continuous discovery. Enjoy your visit.
PyCharm Set Up
IDE Configuration and Testing
Now that you have Python installed with the requests module, you need to install an IDE. I use PyCharm and will take you through a few steps required after initial installation.
Download and install PyCharm from JetBrains. During install allow PyCharm to install and manage JRE. Once installed, launch PyCharm. At the Welcome screen select Configure and Settings. Complete the instructions below.
Instructions (see Screenshot below for reference):

Welcome to PyCharm
At the 'Welcome to PyCharm' screen select Configure and Settings.
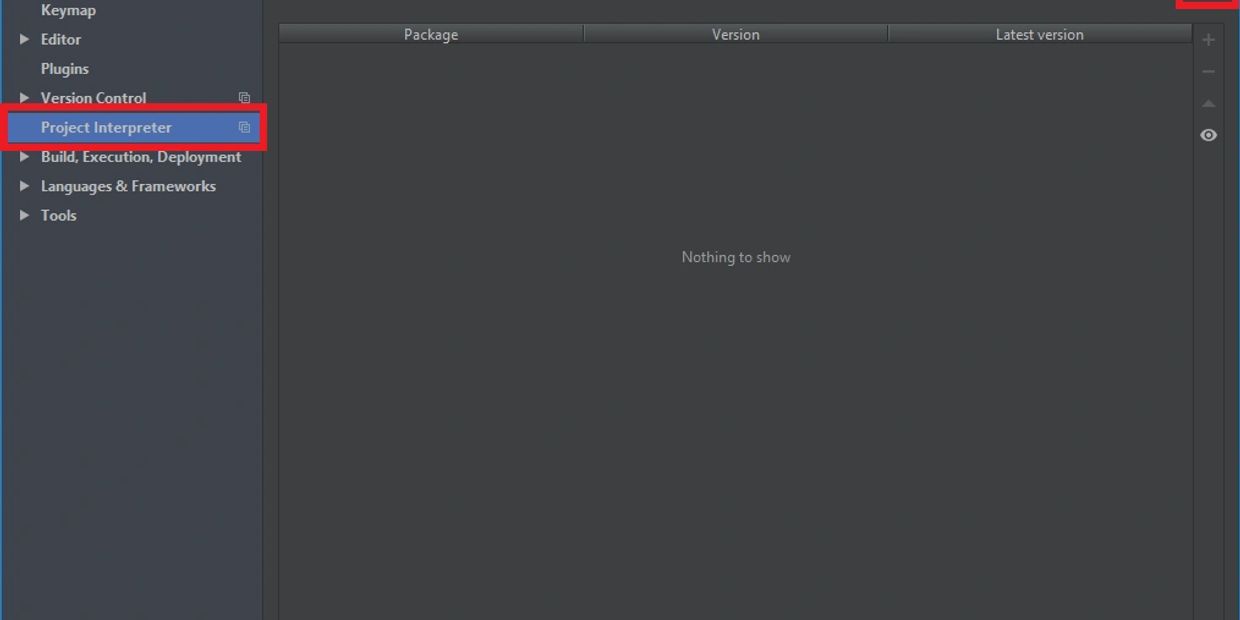
Setting for New Projects
Navigate to 'Project Interpreter' and select the gear in the top right.
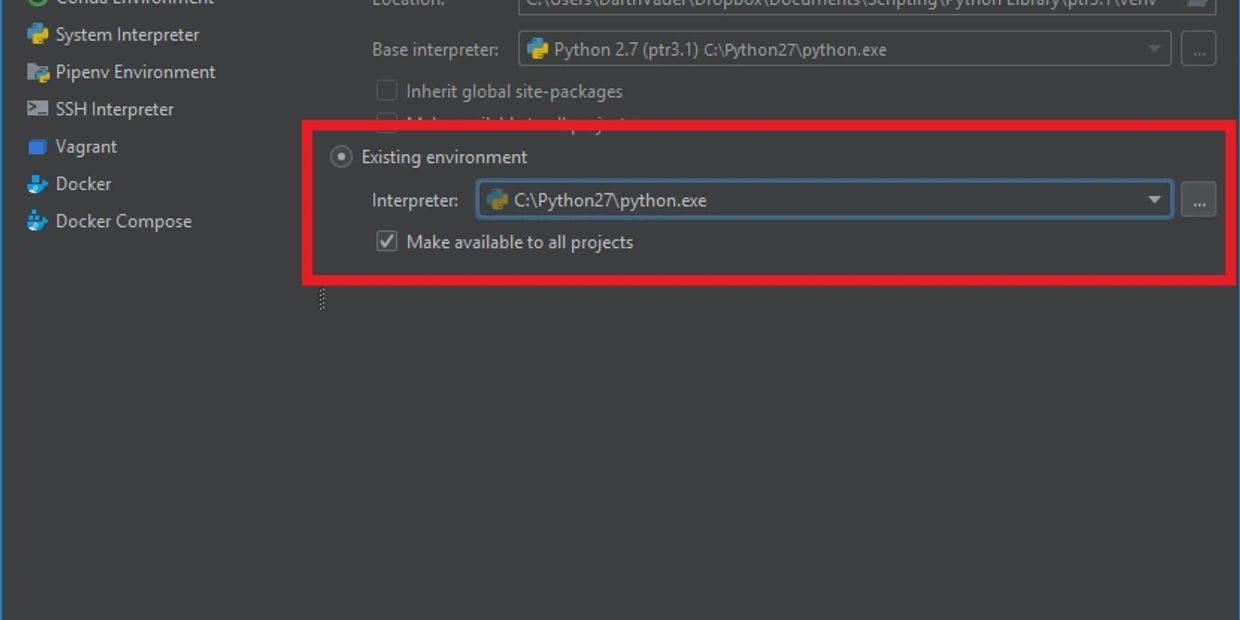
Add Python Interpreter
Select 'Existing environment' and 'Make available to all projects'. Click on the ellipse (...) and browse to your Python directory.
Default Path: C:\Python27\python.exe
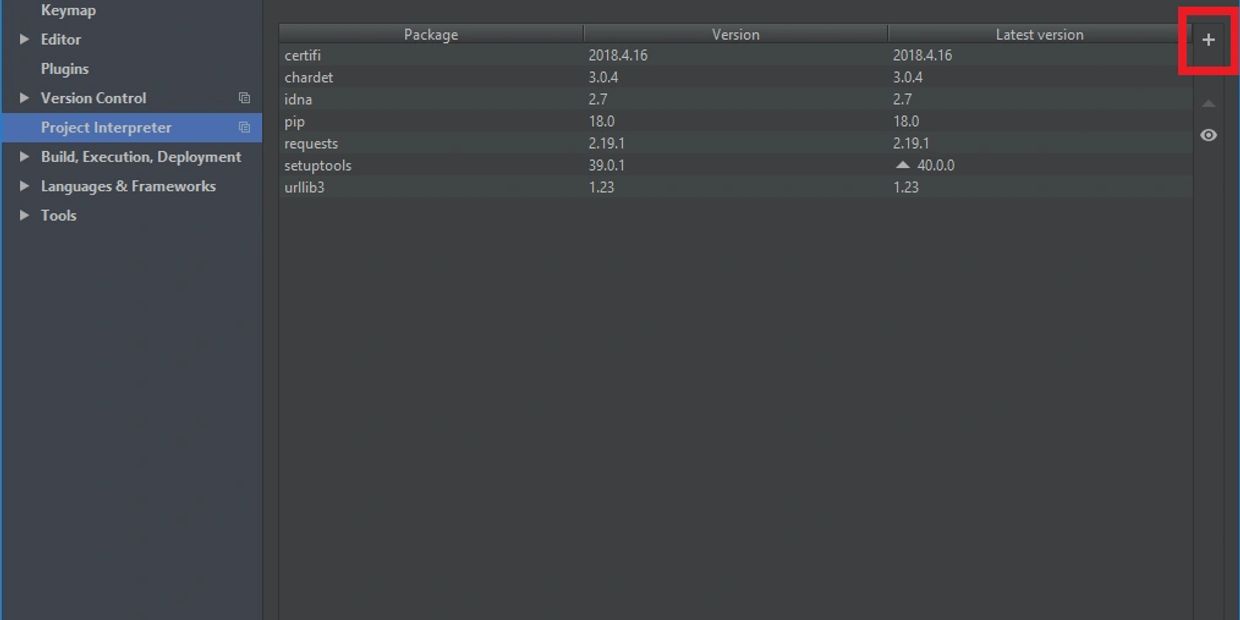
Setting for New Projects
Once you have added the interpreter you can come back to this screen to install future Python modules.
If you followed the Lab Configuration for Python you should see the Requests package in the list.
Welcome to PyCharm
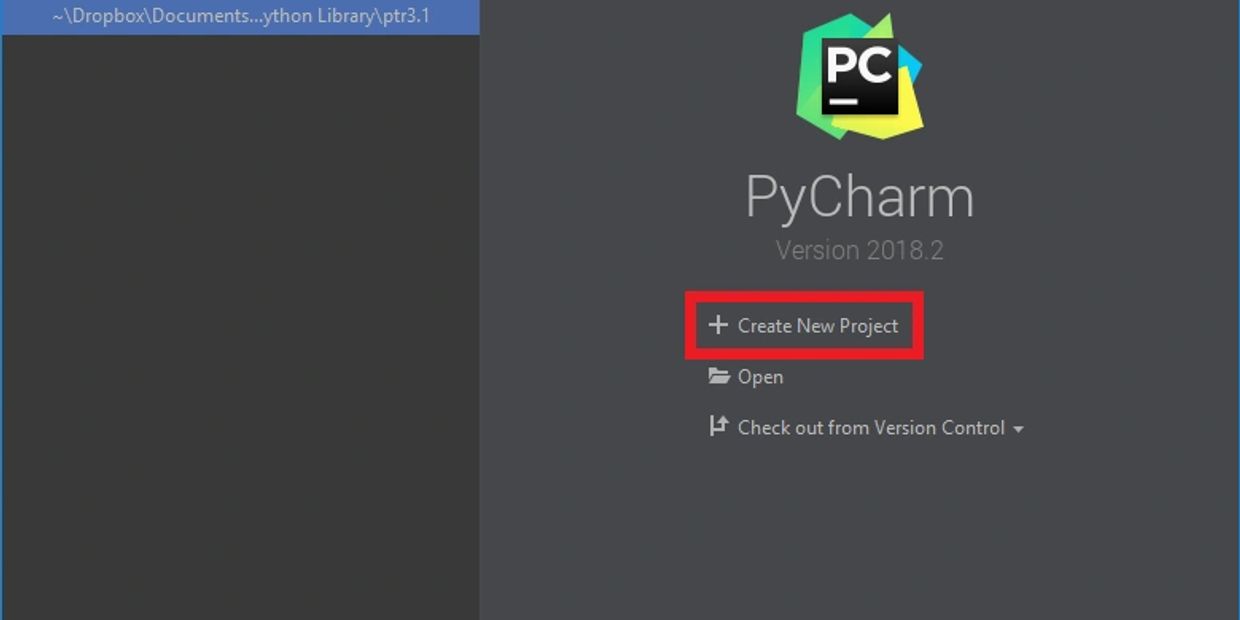
Click 'OK' until you get back to the 'Welcome to PyCharm' screen and select 'Create New Project'.
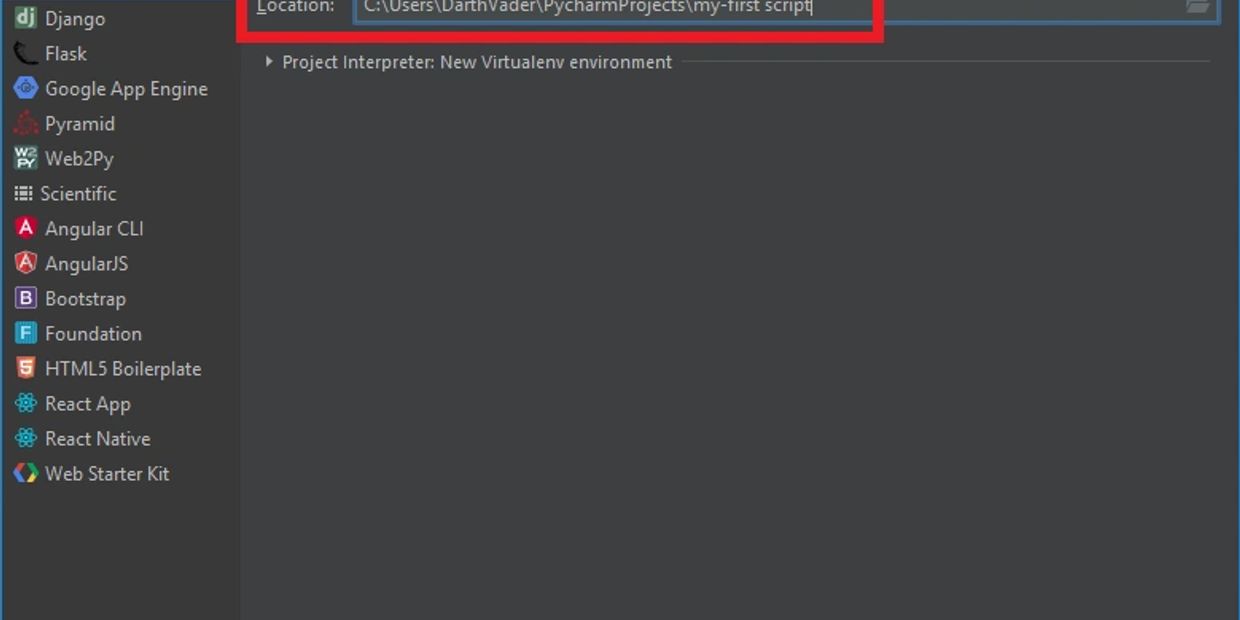
New Project
Give your project a name worthy of this monumental occasion.

New Python File
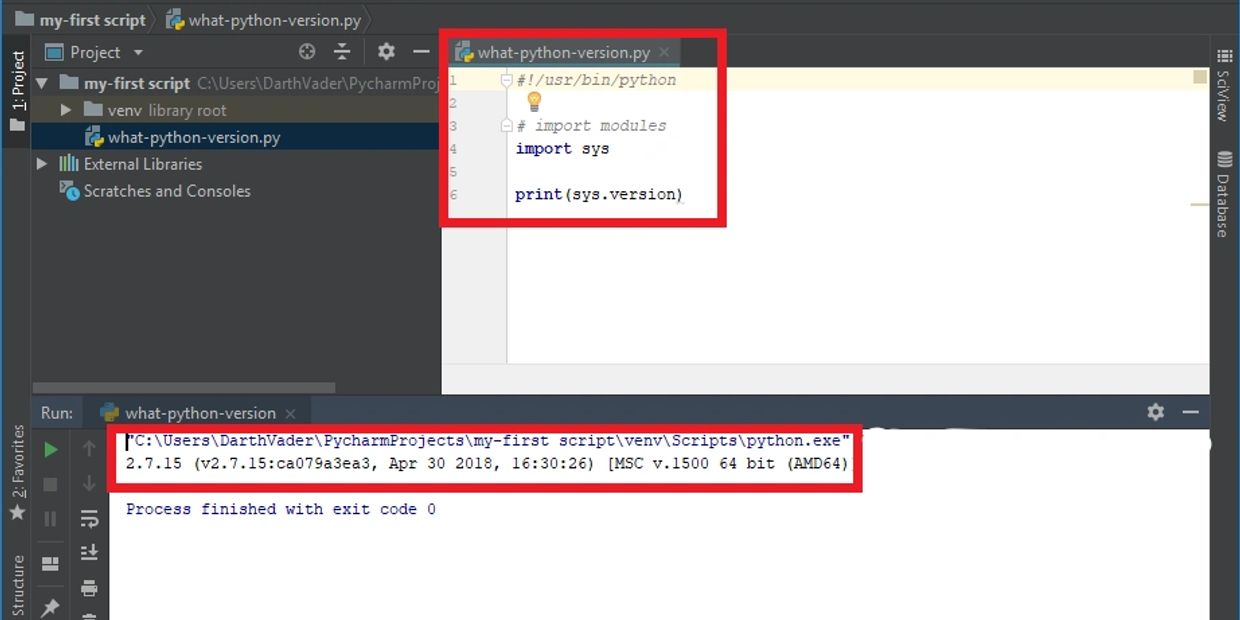
Create a new Python file in your project directory. Call it 'what-python.version.py'
Your First Script
Get the current Python version
During installation of Python we used the command line to get the installed Python version. We are going to do the same thing with a simple script.
Copy the following into you new script and run. You should see output similar to that in the screenshot.